Showing posts with label konad. Show all posts

Friday, July 22, 2011

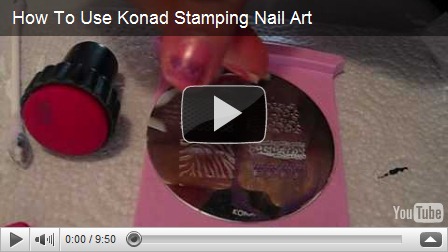
How to Use Konad Stamping Nail Art

Lately I have been getting a lot of questions about Konad so I decided to film a brand new video that gives tips and tricks for using the stamping nail art system. Hope you enjoy!

How to Use Konad

Get my favourite makeup brushes here: http://www.sigmabeauty.com/?Click=62512

Camera that I used to film this video: Sony Cyber-Shot DSC W570

Find Konad at:

wowsocool.com
konadnailart.com
store.ocnailart.com

Non-Konad Stamping Products:

Bf-Beauty:  http://www.bf-beauty.com/en/product/item/113/product_detail.html?javaID=eea9cbbc77f69e979e9369ba8f658b72

Born Pretty Store:   http://www.bornprettystore.com/nail-stamping-c-94.html
Amazon:  http://www.amazon.com/Monster-Nailart-Stamping-Manicure-
Accessories/dp/B003ILUQPM/ref=sr_1_1?ie=UTF8&qid=1311100366&sr=8-1

Find out which regular polishes work with Konad:
http://sassestampingstampede.wordpress.com/polish/

Disclaimer: All products mentioned were purchased by me. The opinions expressed in this video are honest and are my own.

Sunday, June 26, 2011

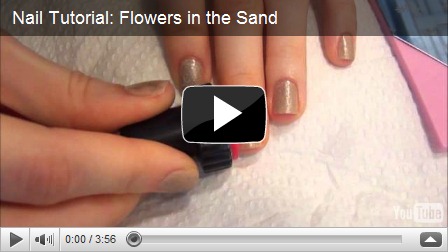
Nail Tutorial: Flowers in the Sand

Hope you enjoy this beach-inspired nail look. It’s my first nail tutorial of the summer!

Flowers in the Sand Nail Tutorial

*click photos to enlarge*

Polishes Used:
Essie Sand Tropez
Zoya Jules
Essie Mint Candy Apple
wet n' wild Wild Shine nail colour in Black Creme

Follow my beauty blog, it would really make my day :)
http://putbeautytowords.blogspot.com/

Get my favourite makeup brushes here: http://www.sigmabeauty.com/?Click=62512

Camera that I used to film this video: Sony Cyber-Shot DSC W570

This video features the song "On the Beach (At Night)" by Pitx, available under a Creative Commons Attribution Non-commercial license.

*all products were purchased by me*

Sunday, June 19, 2011

My Nail Art

I have put together a video featuring all the nail looks that I have created since I started filming videos for YouTube over a year ago. Hope you enjoy and don’t forget to check out my channel for more nail tutorials and other beauty, fashion, and food videos: http://www.youtube.com/user/fictionwriter04

My Nail Art
Which design is your favourite?

Saturday, May 28, 2011

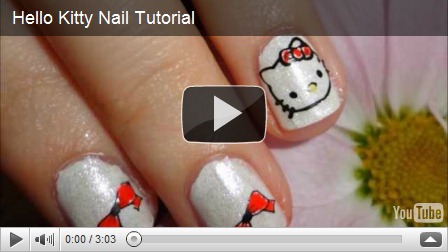
Hello Kitty Nail Look

For this tutorial, I decided to stray from the flower designs that usually appear in my nail videos and do something youthful and fun!

Check out my video to see how I created this look and the products that I used.

Hello Kitty Nail Tutorial

*Click photos to enlarge*

Tuesday, April 26, 2011

Hello Kitty Nail Art Giveaway!!!!

Hi everyone!

My Hello Kitty Stamping Nail Art Image Plate giveaway starts today, April 26, 2011.

The prizes include a set of nail decals as well as a Hello Kitty Nail Art Plate.

Rules

1. You must be a follower of this blog: http://putbeautytowords.blogspot.com/ (You don't need a blog to follow, you just need a gmail account)

2. You must be a subscriber of my YouTube channel: http://www.youtube.com/user/fictionwriter04

3. You must be at least 18 years of age or have permission from your parents to enter.

4. This contest will end on Tuesday May 17, 2011 at 11:59 pm.

How to Enter:

1. To enter you must post a comment in the information bar below my YouTube giveaway video: http://www.youtube.com/watch?v=P-diRkjAn-Q

2. In your entry, please tell me your favourite thing about spring.

3. You may enter up to 4 times but please make each entry different to avoid spamming issues.

4. This contest is international.

5. Good Luck in the contest.

Friday, April 15, 2011

Bridal Nail Tutorial Using Konad

With wedding season just around the corner I thought I would do a bridal-inspired nail tutorial. I created this look using my Konad stamping nail art kit and some light pink half pearls that I purchased from ebay.

In addition to the photos below, I also created a video that demonstrates how I did this look and which products I used to achieve it. Hope you enjoy!

Bridal nail tutorial using konad

*click photos to enlarge*

Sunday, March 20, 2011

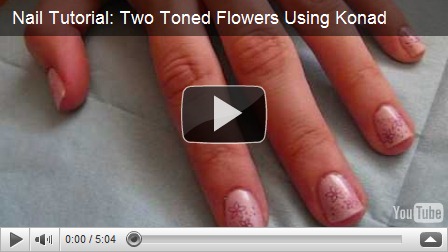
Two Toned Flower Nail Look

Currently I’m in the process of creating new nail looks for spring. For inspiration I decided to look to my past spring nail looks.

I created this one using Konad and two different colours of holographic nail polish. I like this look because it is very light and subtle but has an unexpected pop of colour.

*click photo to enlarge*

flowers

I also have a video that shows the products and techniques that I used to create this look. Hope you enjoy!

Two Toned Flower Nail Tutorial

Thursday, March 10, 2011

Free Hello Kitty Nail Art Plate

About a month ago I saw a promotion being offered by bornprettystore.com for a free Hello Kitty nail art plate. All I had to do was go to the website, add the plate to my shopping cart, enter a promotion code, and fill out my mailing information. Shipping was free as well so I paid absolutely nothing for the plate.

I was a bit sceptical as I didn’t believe that a company would actually send out a free product to those who were not making additional purchases from their store. I was pleasantly surprised this morning when I found a tiny envelope in my mail box containing the plate.

I checked their site again and it says that if you have a twitter you may still be able to get the free plate. There is a note on the site saying that they will be giving away 500 more plates on Monday. Here is the link in case you want to check for the updated promotion: http://www.bornprettystore.com/hello-kitty-nail-stamping-plate-will-available-soon-p-932.html  Once you get to the page, scroll down to see how you can get the plate for free using twitter.

*click photo to enlarge*

hk

Friday, March 4, 2011

How to use Konad Stamping Nail Art

I get a lot of questions each day about Konad Stamping Nail Art. For those of you who are unfamiliar with this product,it is basically a nail-imprinting kit that allows you to create nail designs by stamping pre-designed images on your nails. A rubber stamper, a metal or plastic scraper, a metal image plate, and a special polish are the tools used to make the designs. If you scroll through some of my previous blog posts you will see examples of Konad-created designs.

The design process involves applying a special polish to the image plate, scraping off the excess, pressing the stamper onto the plate to pick up the image, and then applying the image to the nail. It sounds quick and easy, and it is once you practice a bit, but Konad can be a bit difficult to use at first. In fact, I was about to give up on my set after a week or two of struggling with it. However, I learned a few tricks that really helped:

1. Make sure that you are using a nail polish that works well with Konad. Konad has its own “special polishes” that work very well for stamping. They have a very thick almost plastic-like consistency. I prefer not to use them because they take a very long time to dry and often look streaky after I apply top coat even if I let the designs dry for a long time beforehand. I do think that they are great for people starting out with Konad though to practice with until they have mastered the process. So far I have found a few other polish brands that seem to work for stamping: Wet N’Wild Wild Shine polishes, Sally Hansen Chromes, Sally Hansen Insta Dry polishes, and polishes from Chine Glaze’s OMG and Up & Away collections. There are many other non-Konad polishes that work too. There is a blog the features a list of regular polishes that work with Konad. You can find it here: http://sassestampingstampede.wordpress.com/polish/

2. Be wary of certain image plates. When I first started using Konad I only had image plate m3 which has a lot of tiny designs. I could never seem to pick up the images on this plate and even after lots of practice I still can’t get this plate to work even though I do not have any trouble using other plates. Therefore I would avoid this plate. Try plates with full nail images when you are first starting out. They are much easier to pick up.

3. If the image just won’t transfer to your stamper, try buffing the stamper gently with a nail file or an emery board to make the surface a bit rough so that it can more easily grip the image.

4. If you are going to stamp the same image on more than one nail, make sure that you clean the image plate between stampings with a bit of nail polish remover. If you don’t, nail polish will dry on the image plate, preventing you from getting a clean stamp the next time. I like to solve this problem by soaking a few cotton swabs in nail polish remover before I start Konading so that I can wipe of the image plate easily between stamps. I dry the plate by dabbing it with a tissue—never a cotton ball because it will leave little pieces of fuzz on the plate that will stick to the stamper. Also remember to wipe of the stamper after every use to prevent any polish that has been left behind from interfering with your next image.

5. You may want to also get a plastic image plate holder to keep the plate secure while you are scraping.

6. Do not use the Zoya Armour top coat on top of Konad designs regardless of which polish you create the design with, it will always cause streaking.

7. When scraping, hold the scraper on an angle. It will work much better. Also, metal scrapers leave less excess polish behind so try opting for one of these over a plastic scraper.

8. Use a rolling motion to apply the image to the nail rather than pressing it down flat.

Konad Stamping Nail Art kits can be purchased at  wowsocool.com, konadnailart.com, and store.ocnailart.com

I usually purchase mine from wowsocool.com because the shipping is only $2

Or, for a more affordable yet equally good option, you can purchase a set of 10 non-Konad image plates + a stamper and scraper for a little over $10! This is an amazing deal considering that each Konad brand plate is around $7. I bought this set too and love it. Shipping from here is also really inexpensive. http://www.bf-beauty.com/en/product/item/113/product_detail.html

I also have a YouTube video on how to use Konad + tips & tricks. Hope you enjoy!

How to use Konad Stamping Nail Art

Tuesday, February 22, 2011

Spring Nail Look

While it’s technically still winter, this nail look is the perfect way to get ready for spring.

I used OPI’s Venus di Violet as the base colour. It is fairly sheer and takes about 3-4 coats to reach this opacity.

The design was created using my Konad stamping nail art kit. I stamped an image from plate m36 onto the tips of each nail with a white cream polish.

The look is perfect for this time of year because it uses a spring colour palette but the shades are not so bright that they look out of place during the winter.
Let me know what you think.

*click photos to enlarge*


IMG_9004IMG_9005

Friday, February 11, 2011

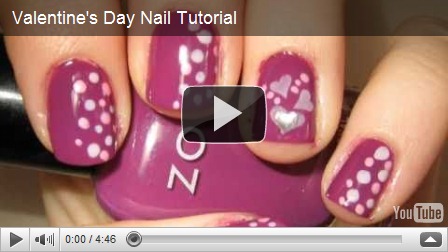
Valentine’s Day Nails


When creating this look I tried to stay away from the traditional red and white valentine’s day colours to use more modern tones like mauves and pastels.

*click photo to enlarge*

nails8

To see how I created this look and the products that I used, check out my youtube video tutorial here:

Valentine’s Day Nail Tutorial

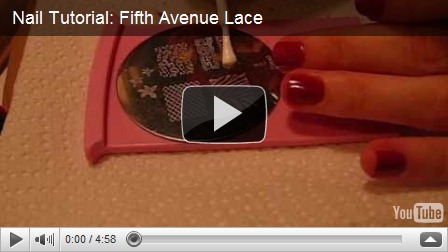
This next look is classy and appropriate to wear long after the holiday is over.

*click photo to enlarge*

fifth ave lace

I created a video on this look as well:

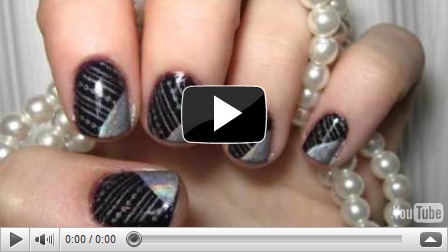
Fifth Avenue Lace Nail Tutorial Using Konad

Let me know which look is your favourite and what you will be wearing on your nails this valentine’s day.

Related Posts Plugin for WordPress, Blogger...